
Do you want to create social media videos for your business?
The right apps make it easy to produce social videos by yourself in minutes.
In this article, you’ll discover three tools and step-by-step tutorials to help you create stunning promotional videos.
#1: Create an Animated Story With Adobe Spark
Adobe Spark Video is an elegant, easy-to-use tool for creating animated videos that tell a story. It’s available as a browser-based cloud app or as an iOS app. You can get it as a single app or install the 3-in-1 tool to access the Spark Post and Spark Page companion apps too.
What’s great about Spark Video is that it’s quick. You can create a compelling animated video story in just minutes without any design experience, and work on your project from anywhere. As a cloud-based tool, your progress is saved and synced automatically, so you can work on it on mobile or desktop whenever creative inspiration strikes.
This video for a local health-food store was created with Spark Video.
Here’s how to create a similar narrated promo video for your business.
Add Content to Your Video
To get started, go to https://spark.adobe.com/ and sign in with Facebook, Google, or your Adobe login if you have one.
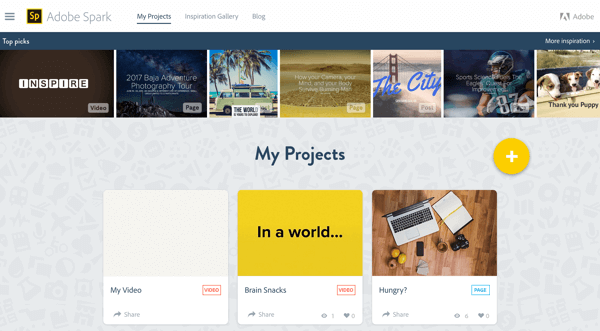
Sign in with Facebook, Google, or your Adobe login.
Click the + icon to start a new project, and then click the big + icon under Video to create a new Spark Video project.
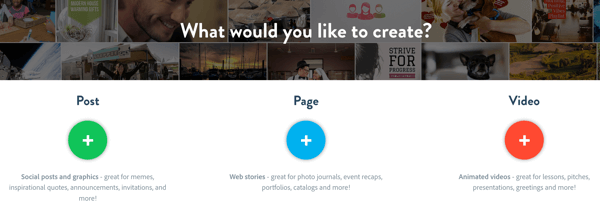
You can start from scratch or use one of Adobe Spark’s structured templates to guide you through telling your story. Choose from templates like Promote an Idea for a concept-based story, Tell What Happened for an event video, Show and Tell for a product feature video, and more.
For the example, Show and Tell is the most appropriate narrative. Mouse over the desired tile and click the Pick This One button to start.
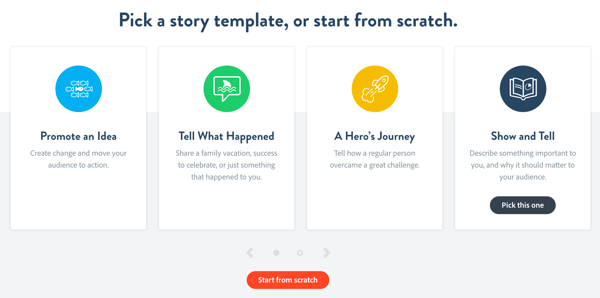
Pick a story template.
You’re taken to the Spark Video editor, where you’re invited to introduce yourself. Press and hold the microphone button to record an intro.
To preview your audio, click the play button. If you don’t like it, you can re-record it as many times as you like until you get it just right.
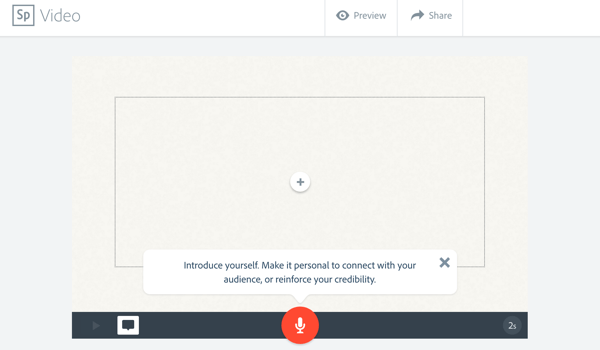
Click the microphone and record an introduction.
Once you’re happy with the first voiceover, it’s time to add some visuals. Click the + button in the video frame and choose Photo.
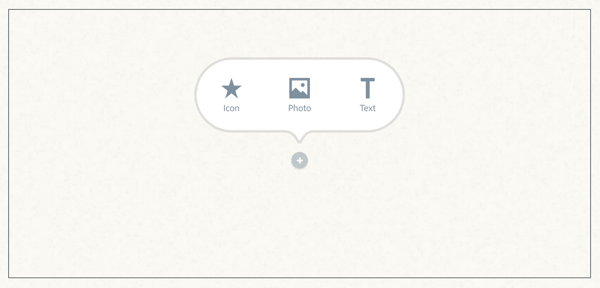
Click the + button in the video frame and select Photo.
Now add a photo from sources such as Creative Cloud, Dropbox, or Google Photos, or directly from your computer.
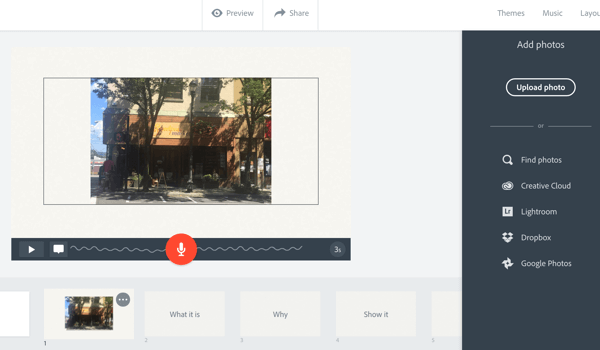
After recording, it’s time to add visuals.
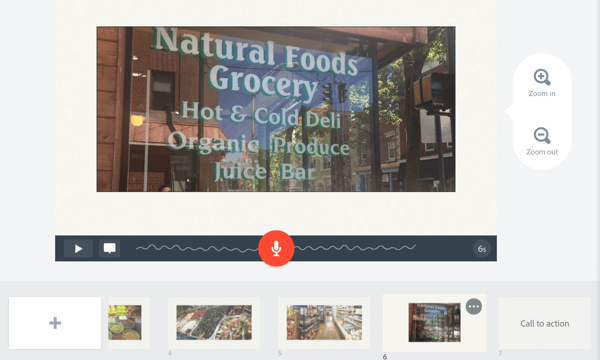
If the photo doesn’t fill the whole screen, click on your photo and select Zoom. Then click and hold the +/- buttons to make the photo fill the frame. Click and drag to show the desired portion of the image.
Now click the next frame in the timeline (titled “What It Is”) at the bottom of the screen. You’re prompted to “show the project or thing you’re sharing, and highlight what’s interesting about it.” Record another voiceover and add another photo.

Record a voiceover and add a visual for each frame.
Repeat these steps to add more frames to your video. For the “Why” frame, explain why you’re passionate about this product or place. Again, record a voiceover and add a photo.
Do the same for “How.” Talk about the origin or history of the product or place. Then move to why you’re sharing it. Reinforce why it’s relevant to your audience.
Be sure to add a call to action.
Finish up with a call to action. Tell people where to go or what to do next. Record a voiceover and add a photo or logo.
To preview the video, click the play button on the control bar, or click Preview at the top.
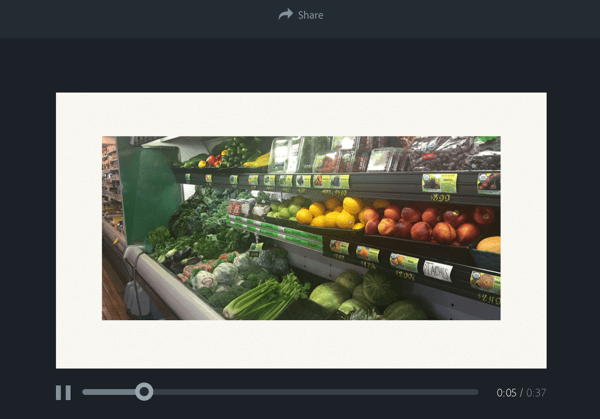
You can preview your work to see if you need to make any adjustments.
You might need to add a frame to the beginning of the video. This first frame serves as the preview thumbnail for your video, so make it attractive. Click the + icon in the timeline and choose a layout for your frame. You can add a single photo or a frame with multiple elements.
For example, choose Thing + Caption so you can add a photo and caption. Click and drag the frame from where it was created to the beginning of the timeline.
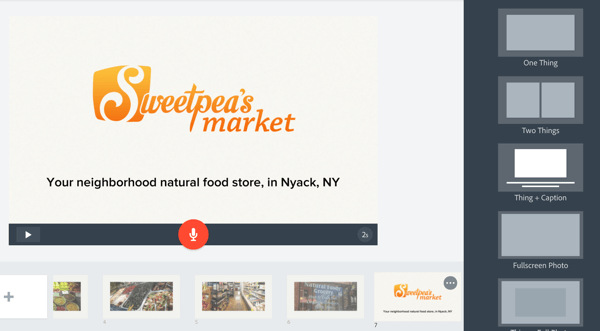
The first frame also serves as your video thumbnail.
If you want the same frame at the end, click on the … icon in the first frame and choose Duplicate. From here, you can drag and drop the duplicated frame to the end of the video.
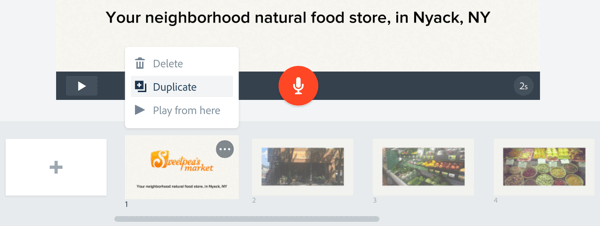
You can duplicate frames to use them again in the video.
Customize the Video
Once you’ve added the content to your video, you can customize it further. To change the music, click Music in the top menu bar. Choose from a wide variety of royalty-free background music.
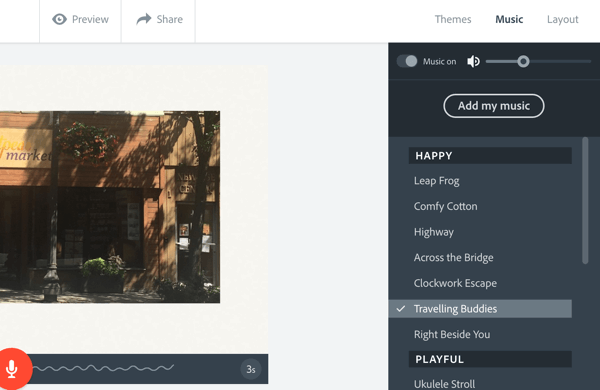
Add royalty-free music to your video.
Now you get to have some fun and see where Adobe Spark really shines. Click on Themes in the upper-right corner of the screen to see the styles available. Mouse over each style for a preview. When you see a style you like, click the theme to apply it to the story.
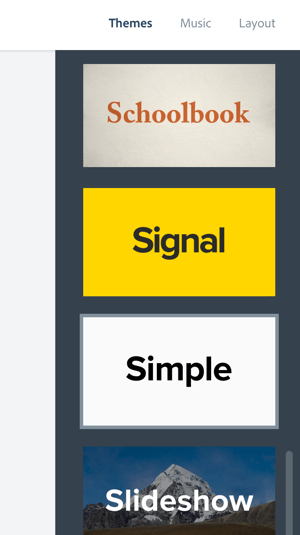
Select a theme to apply to your video.
Share the Video
When you’re happy with your video, you can share it across social media, via email, or embed it in a web page. Download the video if you want to post it to YouTube or host it yourself. Having this flexibility is really important. Once you create your video, you want to be able to share the video anywhere and everywhere.
To share your video, click the share button at the top of the preview window. Type in a name and subtitle, assign a category, and add attribution for photos if needed. You can allow Adobe to feature the video or keep it private.
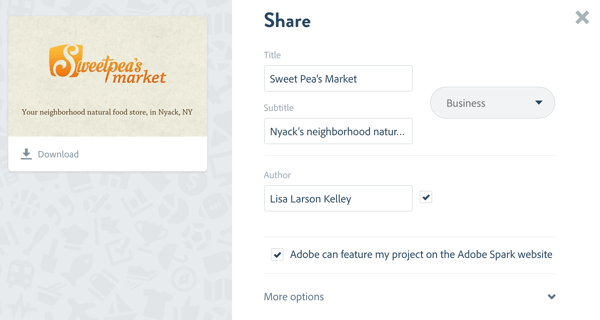
You can download the video or have Adobe host it.
To download the video, click the Download icon below the preview thumbnail. Click Create Link if you want Adobe to host your video. Then copy the link to your clipboard, get the embed code for your website or blog, or share it directly to your social media accounts.
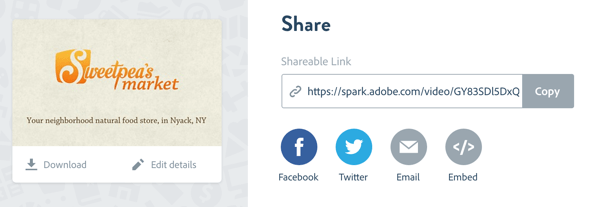
Click Create Link to generate a shareable link.
Congratulations! You’ve created your first video! Adobe Spark Video makes it a snap to create videos to promote your business. Guides for adding content to create a cohesive storyline, coupled with polished templates and integrated voiceover recording, help you create animated video in minutes.
#2: Produce a High-quality Promo Video With Animoto
Now let’s look at a tool that’s similar to Adobe Spark, but gives you more flexibility over your content. Animoto is an affordable, cloud-based tool that offers an assortment of choices and customizations to create a one-of-a-kind video to tell your brand’s story.
This tool gives you a little more control than Adobe Spark Video. You can start with a blank canvas (choosing your own colors, styles, and frames to more closely match your brand) or adapt one of the tool’s wide variety of templates.
This video was created with Animoto:
Here’s how to use Animoto to create a promo video for your business.
Create Your Video
Log into your Animoto account or start a new 30-day trial to take it for a spin. After you’re taken to your dashboard, click on the Create button to start a new video project.
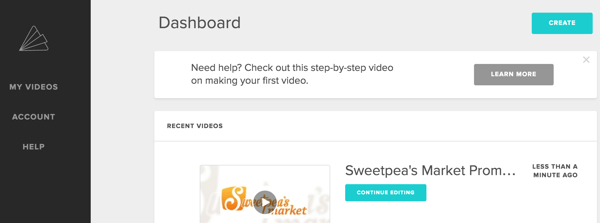
Click Create in the dashboard to start a new project.
On the next page, you can choose either Slideshow Video or Marketing Video. For this example, click the Create button under Slideshow Video.
Now choose the visual style for your video. Animoto offers more than 100 pre-built video styles (templates) to determine the motion design, transitions, and typography of your video. There are both free and premium styles available.
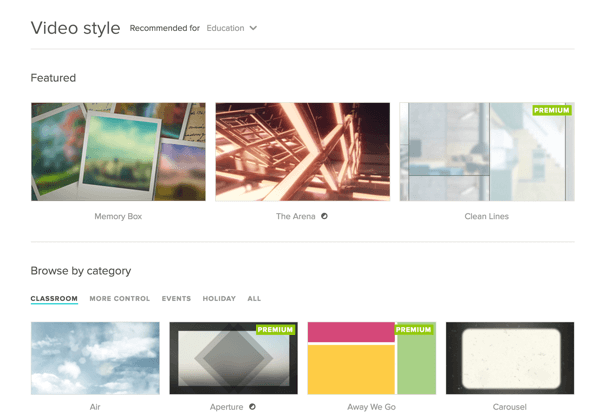
Animoto features a variety of animated styles.
After you click Create Video, you’re taken to the Animoto video editor with a blank canvas. Animoto doesn’t guide you through the storyline like Adobe Spark, so start your own story.
First, add a logo to the beginning and end of the video. Click Add Logo in the left menu bar. Then click Add a Logo in the pop-up window and navigate to the logo file on your computer. The image should be in JPG format and at least 800 pixels wide.
You can add a caption to the logo and choose from a variety of animation styles. When you’re finished, click Done at the top of the window.
Click Add a Logo and then select the logo file from your computer.
Next, click Add Pics & Vids to add content. You can upload files from your desktop or drag and drop files directly into your project. Animoto accepts JPG, non-animated GIF, PNG, and TIFF formats, with a file size limit of 20MB for images. Short clips of 2-5 seconds will help keep the animation flowing.
You can add content from Dropbox, Instagram, Facebook, and more. This makes it easy to repurpose assets you’ve already posted as images on social media.
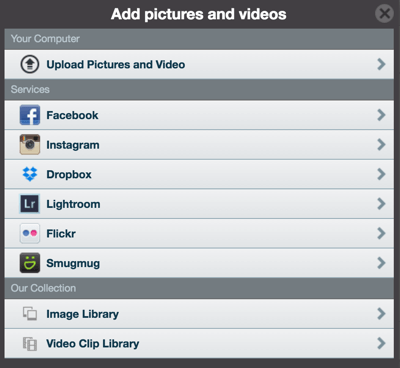
Repurpose content from Facebook, Instagram, and Dropbox.
If you want to change the order of the photos and video clips in your video, just drag them to create the order you want.
Animoto makes it easy to edit your photos and add captions. Double-click on a photo, and in the pop-up window, you can add a caption. Click the Edit Photo icon to use the built-in Adobe Creative Cloud photo editor to adjust the color of the photo or crop it.
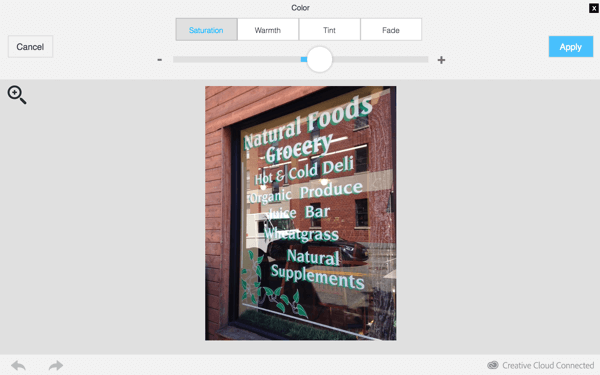
Add captions and adjust the color.
If you’ve added a video, double-click to trim the clip. Click the speaker icon to turn off the clip’s sound so it will blend seamlessly into your overall video.

Trim the clip to show only the parts you want.
You can add animated text to help tell your story. Animoto will animate these text blocks in different ways depending on the video style you’ve chosen.
Text animations help tell your story.
Another cool feature of Animoto is the video pacing. Animations are automatically synced with the background music you choose. To slow down the animations for a more relaxed feeling, click Change Song and choose a different song.
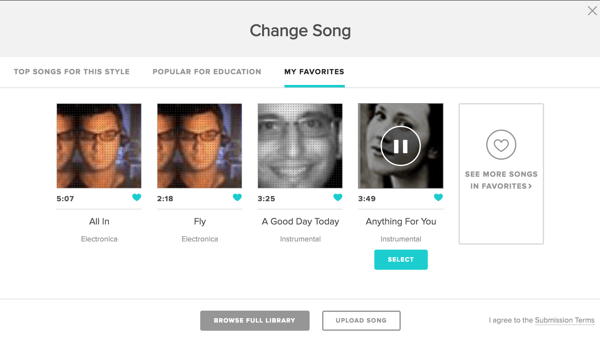
Animations automatically sync to the music.
If the pacing still isn’t how you want it, you can manually speed up the pacing or slow it down. Click the gear icon in the upper-right corner and make adjustments.
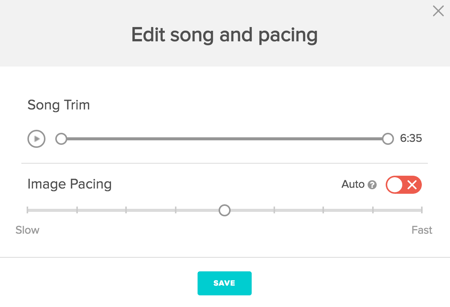
Change the pacing of the video.
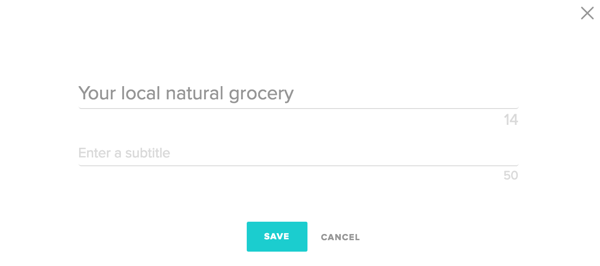
No video is complete until you include a call to action. To add one, click the Settings button at the top right corner of the screen. Give your video a name. Then scroll down and select Show Call-to-Action Button and add a label and destination URL. The call to action will appear over the video at the end and whenever it’s paused. When you’re finished, click Save.
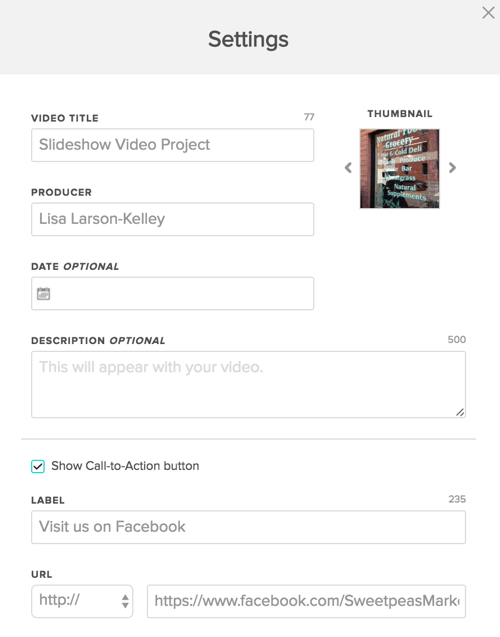
Your video isn’t complete without a call to action!
Publish and Share the Video
Now you’re ready to preview and publish your video. Click Preview Video to see how your video will look. If you’re happy with it, click Produce. Give it a title and description, and choose the video quality. If you’re downloading the video to use elsewhere (such as YouTube), the recommended video quality is 720p or 1080p.
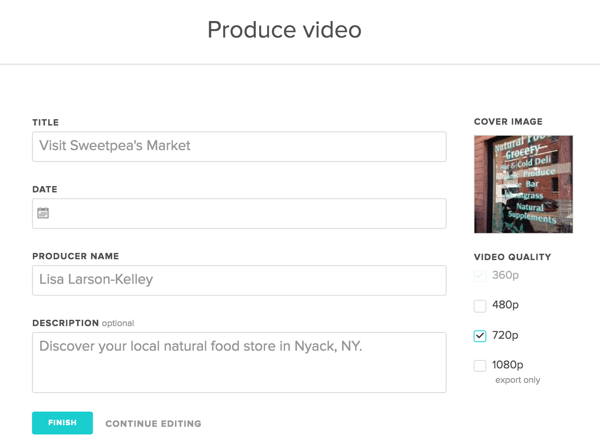
When you’re finished, Animoto creates a page for your video.
Click Finish and Animoto will create a page for your video. From here, you can post or embed it, share the link, and even track video plays.
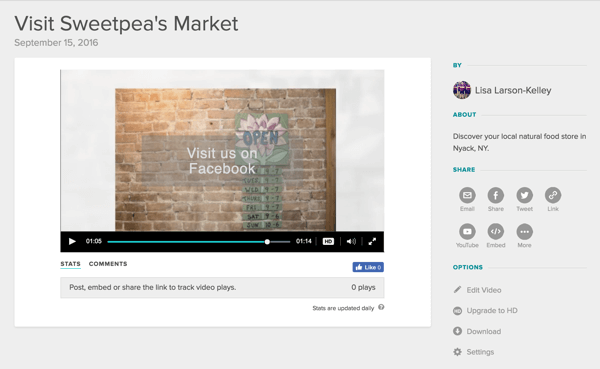
You can share your video in a variety of ways.
Tip: If you want to use a custom font and background colors that are consistent with your brand, you can absolutely do that with Animoto! Look for the custom styles Documentary, Frameless, and Classic in the Business video style library.
If there isn’t a template you really like, choose one of the customizable options and build your own from scratch.
#3: Build a Video Ad With YouTube Director
YouTube Director is a revolutionary tool to create video ads for business. Geared toward small local businesses, it’s a foolproof way to tell a compelling story in a short format.
As you follow the prompts, you’re guided to capture images, video, and voiceovers. Then you can post the video and run a video ad campaign on YouTube.
YouTube Director lets you create polished video ads like this one right from your phone!
It’s available as a free iOS app download, and you can get started with a tap of your finger. (I suspect an Android version is coming soon, as this is a Google product after all.)
Here’s how to use YouTube Director to create a polished video ad for your business.
Create Your Video
Get ready to film! You can get away with using the built-in mic on your phone in most cases, but step up to an external mic if your budget allows.
Launch the YouTube Director app and log in with your Google ID, which authorizes the app to publish to your YouTube account. Tap the menu icon in the upper-left corner and then tap New Project.
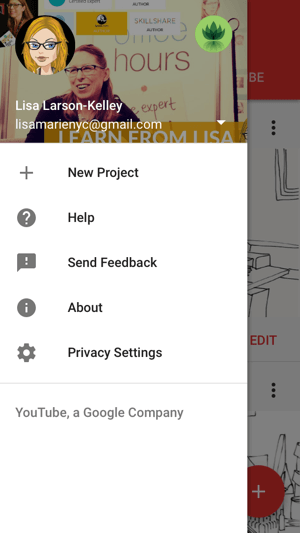
Tap New Project to get started.
You’ll see a variety of presets organized by theme and by business. Below each one, the app shows the number of shots required and average finished video length. We chose Overview – Retail Store, a short and sweet video with five shots. After you select your template, tap Start Project to begin.
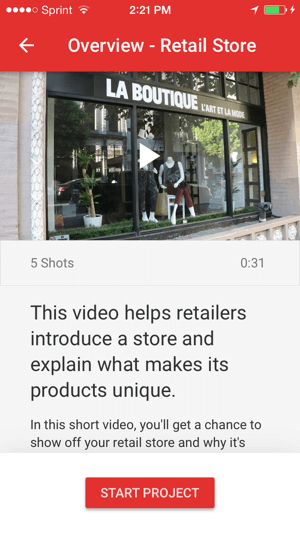
Choose a template.
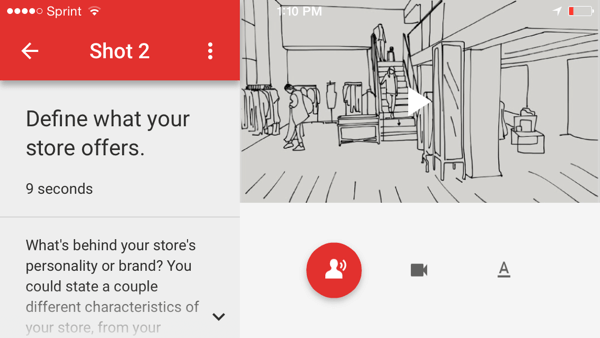
You’ll see an outline of the story with content direction for each shot.
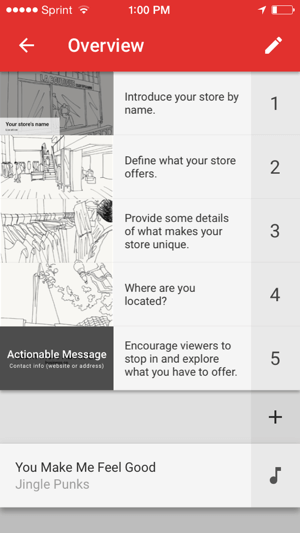
YouTube Director gives you content direction for each shot.
Tap the first shot thumbnail and tap the microphone icon to record a voiceover directly in the app. The app gives you a suggested length. It can be longer or shorter, but for best results, follow the recommendations where you can.

For best results, follow the recommendations.
Next, you’re prompted to record video for the shot. Tap the video icon and follow the instructions to record a clip that’s the same duration as your voiceover.
Add caption text to the opening shot and edit its color, size, font, and animation as desired.
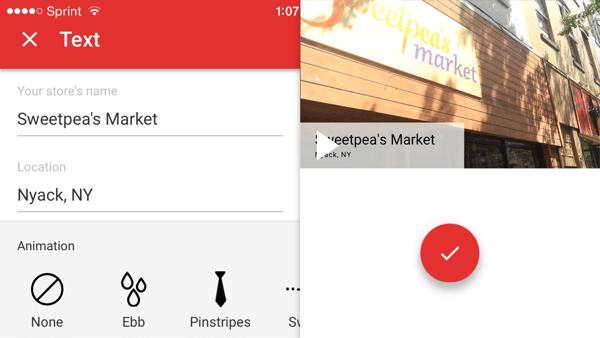
Add a caption and edit the color, size, font, and animation.
To preview the shot, tap the play button. You can re-record it if you want. When you’re finished, swipe up to move to the next shot.
Preview your work.
Continue through all five shots, recording audio and video, and optionally adding text to each. In the last shot, set up the title card with contact info or other info viewers will need to find out more.
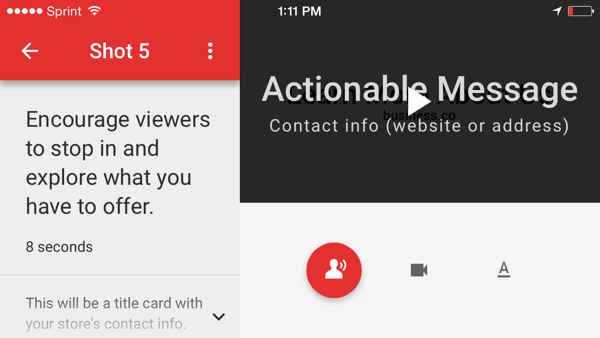
Tell viewers where they can find out more.
If you want to change the background music to suit your business, choose from suggested tracks or by genre and mood.

Change the background music to fit the mood of your video.
Publish Your Video
Now it’s time to publish your video! Preview it one last time and tap Publish. Give your video a title and description, and choose to publish it to YouTube as public or unlisted.
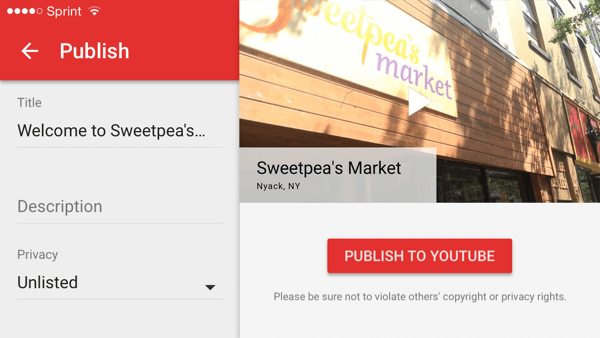
Tap Publish to YouTube.
Now you can share the video by tapping Share. Copy and paste the link or share it via email or SMS directly from the app. If you want to publish your video as a YouTube video ad, you can get one-on-one help from an ad specialist. Tap Promote and fill out the form.
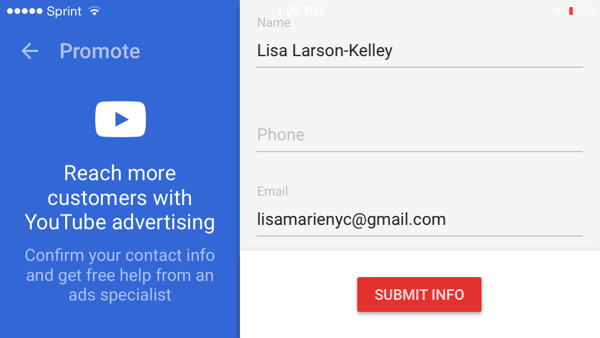
Get one-on-one help from a specialist.
With YouTube Director’s step-by-step directions, anyone can get started with video ads. Once your video is complete, upload the finished product to YouTube and start promoting your business or product across the web!
If you don’t want to shoot a video yourself and plan to spend more than $150 on ads, check out YouTube Director onsite. They’ll match you with a local filmmaker who will help you write a script and come to your location to film your spot. This free service will be available first in major metropolitan areas like Atlanta, Boston, Chicago, Los Angeles, San Francisco, and Washington DC, with more cities to be added soon.
Conclusion
Now you have three ways to create video!
Adobe Spark is a foolproof way to tell a structured story and produce slick videos. Animoto, however, gives you more control over the video style, which is important if you’re trying to stay on brand. YouTube Director gives you shot-by-shot guidance and is a great option if you’re planning to use the video for an ad campaign.
What do you think? Can you create shareworthy videos in minutes? What tools do you find easiest to use? What tips can you offer? Please share your thoughts in the comments below!
Source
What do you think? Can you create shareworthy videos in minutes? What tools do you find easiest to use? What tips can you offer? Please share your thoughts in the comments below!
Source
Looking for a trusted video editing agency in India? Skowd offers cutting-edge video editing and post-production services tailored to meet the dynamic needs of modern brands and businesses. From corporate films and advertisements to social media content and promotional videos, Skowd ensures each frame aligns with your brand's identity and message. With advanced tools and a creative team, this agency transforms raw footage into engaging visual stories that leave a lasting impression.
ReplyDelete