
Interested in delivering quality video content to your audience?
Wondering what equipment you need?
You don’t need to spend a lot on high-end camera gear and equipment for your studio to create top-notch social media videos.
In this article, you’ll discover how to set up a video studio without breaking the bank.
#1: Choose the Right Camera
Free
The latest smartphones have amazing cameras. Anything from the iPhone 6 (and similar Samsung models) and later will be good enough quality to use for video.
A smartphone is also perfect for on-the-go shooting. Just find an elevated place toposition the camera or a tripod (more on this coming up) and start filming.

If you don’t have the budget to invest in a camera to shoot video, just use your smartphone.
Here are a few quick tips for recording with a smartphone camera:
- Look at the camera lens while you’re recording. If you look at yourself on-screen, your eyes won’t be directed at viewers.
- Hold your camera in landscape orientation, not portrait.
- Place the camera slightly above eye level. Don’t hold it too low or viewers will be looking up at your chin. Similarly, don’t hold it too high or they’ll be looking down from great heights.
Recording video takes up a lot of space on your phone, so you’ll need to transfer your files periodically to your computer to ensure you have enough space to record. Dropbox is a good option for this purpose. If you’re a Mac user, AirDrop is a quick and easy way to transfer files between an iPhone and Mac.
As an alternative to your smartphone, you can use your iPad (if you have one) or the built-in camera on your computer. For the best quality, your device needs to be able to record in the dimensions of 1920 x 1080.
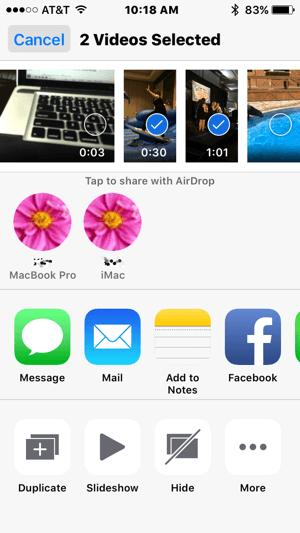
AirDrop makes it easy to transfer videos from your iPhone to your Mac.
Small Budget
For a small budget, the Logitech C920 Webcam ($99) is a good option. It produces HD video, attaches to your computer via a USB cable, and has a fitting to screw it into a tripod stand, which is handy. One downside is you can’t use this camera on the go because it needs to be attached via USB to your computer to work. (You could take your laptop with you, but that seems clunky.)
Download the Logitech Camera Settings app to your computer to alter the white balance, autofocus brightness settings, and so forth. If you live outside of the U.S., you’ll need to change the camera settings from 60hz to 50hz; otherwise, the video will start to flicker due to different countries’ lighting frequencies. You can easily change this setting in the Logitech Camera Settings app.
Bigger Budget
If you want to step up your game, look at digital SLR cameras like the Nikon D3300 ($449) or the Canon Rebel T5 ($399). A number of vloggers use these cameras and they produce great-quality video.
#2: Get a Tripod to Stabilize Your Camera
After you choose your camera, you’ll want to get a tripod to stabilize it while shooting. The right tripod for you depends on the camera you’re going to use.
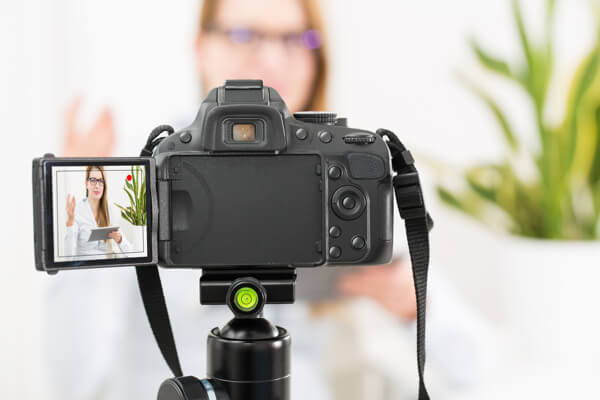
A tripod will stabilize your camera to ensure it doesn’t shake while filming.
Free
If you don’t have the budget for a tripod, find a shelf to place your camera on to stabilize it. A stack of books might also do the trick. If you’re using the Logitech C920 Webcam, you’ll find it sits nicely on top of your computer screen, and that might be just the right height.
Small Budget
The Joby GorillaPods are fantastic flexible tripods if you have a small budget. You’ll find a number of options ranging from $10 and up. The more expensive models support more weight, such as a DSLR or an iPad; the cheaper ones are designed for smartphones.
Another affordable option for an iPhone or camera is the KCOOL Octopus Style Portable and Adjustable Tripod Stand Holder ($12). It also has a universal clip and remote.
Bigger Budget
If you want a tripod that stands as tall as you, the InnerTeck 70-inch camera tripod/monopod with carry bag ($45) is worth considering. Or just search for “tripod” on Amazon and you’ll be able to pick one up for less than $50.
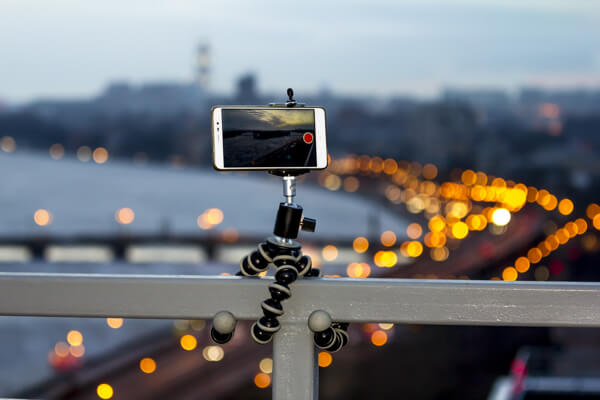
The Joby GorillaPod line includes flexible tripods for both smartphones and cameras.
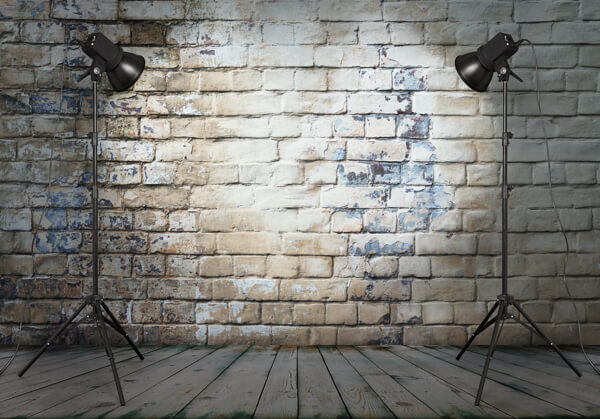
#3: Create Optimal Lighting Conditions
Good lighting is crucial for video. We can’t stress this enough. A surefire way to make yourself look unprofessional (and sometimes even a little creepy) is to have poor lighting for your video. Here’s a rundown of lighting options to consider.
Free
The sun! Yep, natural light is always the best form of light. If possible, try to record in a location with as much natural light as possible. Feel free to use a desk light or any other lamp to add supplemental light. However, keep in mind if the light isn’t fluorescent, it will cast an unnatural yellow glow that you want to avoid if possible.
Tip: When you’re recording, always face the light source as much as possible, so it casts your whole face in light. If the light is behind you, it will cast you in silhouette.
Small Budget
If you have a small budget, the LimoStudio Photography White Photo Umbrella Light Lighting Kit ($29) can be a godsend. It can literally take away all of your blemishes!
Bigger Budget
Ring lights quite simply make anyone look good. Here’s a good one if you have a larger budget: Diva Ring Light Nova 18″ Original Photo/Video Fluorescent ($199) and 6′ Light Stand ($39).
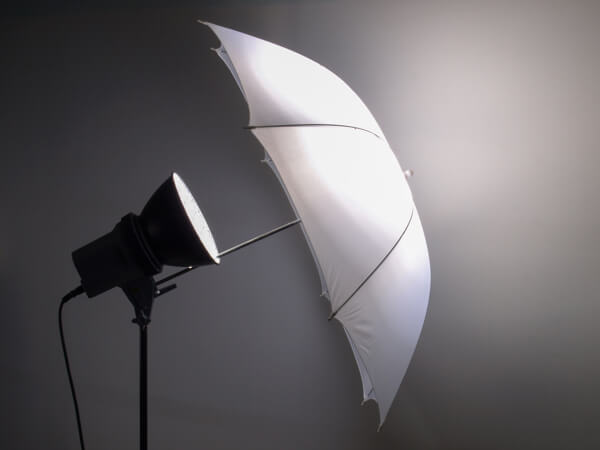
A photo umbrella helps create soft, flattering light for your videos.
#4: Invest in a Quality Microphone
Generally the more expensive the mic, the better the quality. While there are some free options, if you’re going to be investing your time in video, we suggest putting some money into a good microphone. Poor sound quality is unforgiving.
Free
If you’re using your smartphone to record video, the microphone should provide good audio as long as you stand close to the phone and film in a quiet room with no background noise or wind. Typically the built-in microphones in most desktop computers and laptops don’t produce great-quality audio but feel free to test this.
Small Budget
For a modest budget, consider the Rode smartLav+ Lavalier Microphone for iPhone and Smartphones ($79). It works great with a smartphone for recording fantastic audio. It’s especially helpful if you’re filming outside or standing a short distance from your phone. Also, if you get a splitter, you can have two microphones for doing interviews.
Tip: Don’t attach a lavalier microphone too close to your head. You’ll be surprised by how much it picks up.
Bigger Budget
The Blue Yeti USB microphone ($129) is used by many vloggers and podcasters, and it’s a great choice if you have a larger budget. It’s the one we use when recording videos and doing podcast interviews. Plus, it’s called Blue Yeti; how cool is that?
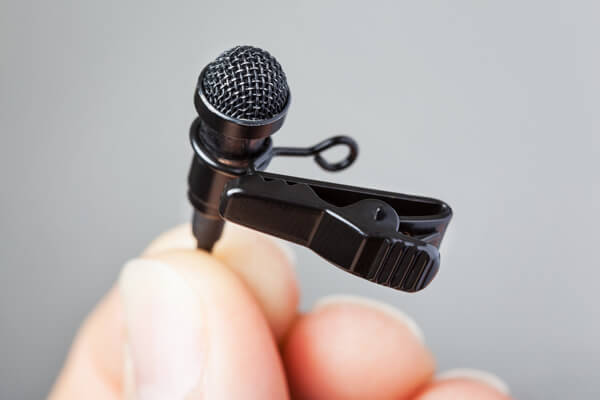
Clip a lavalier mic to your clothing for hands-free operation.
Keep in mind the Yeti is extremely sensitive and will pick up the tiniest noise, vibration, knock on the table, footsteps, and so forth. To minimize those, you might want to look at a bundle that includes the mic, desktop arm stand, and pop filter ($159).
If you don’t want to fork out for the arm stand and pop filter, place the Blue Yeti on a really thick book and be careful not to tap on the table or move around much while recording; you’ll be surprised by how much you do!
#5: Set Up a Professional-looking Background
A nice background can set the scene and tone for your videos. Is it fun and friendly? Corporate and professional? Or does it just make you look amateur? Getting the right setup is important.
Free
The cheapest background is to simply use what you have. Often a nice bookcase will do the trick. In the background of our videos, we show a bookcase, awards, and some emoji balloons to add a little fun. That’s it; nothing special. It looks great and didn’t cost a thing (okay, we forked out a few bucks on the balloons).
Small Budget
Finding a nice background for video shoots can be tricky, especially if you work from home. In this case, consider investing in a backdrop like the 6-1/2′ x 10′ Slow Dolphin Fabric Video Studio Backdrop Kit ($58).
A backdrop helps you eliminate clutter for more professional-looking videos.
Bigger Budget
For a larger budget, a double-sized pop-up banner, maybe with some branding on it, would be suitable for a background. The price of these banners varies greatly, depending on the quality/size/finish and printing fees. You should be able to get a decent banner for $100-$300.
#6: Select Video Editing Software
There are many good video editing options available at various price points, but HitFilm is one of the best values for the money. Here’s a rundown of some popular editing software options in order of free to most expensive.
iMovie
Available only for the Mac, iMovie (free) is easy to use and comes with a lot of useful features. It’s ideal for beginners.
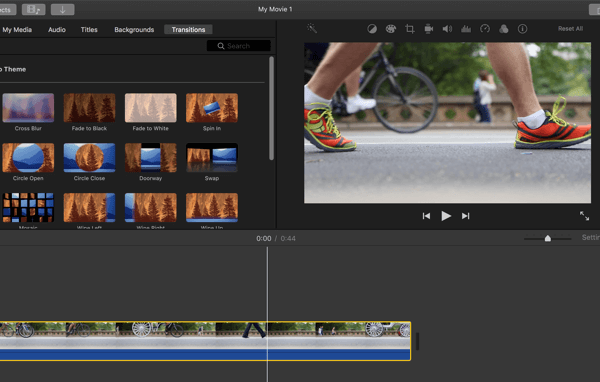
iMovie is an excellent video editing option for beginners.
Windows Movie Maker
Windows Movie Maker (free) is very basic and easy to use, and previously came standard with Windows PCs. However, Windows has now discontinued it so it isn’t a great future-proof choice.
HitFilm
HitFilm is our top recommendation, and it’s available at several price levels for both PC and Mac. At the highest end, the versatility and features are geared toward filmmakers.
However, the free version is ideal for beginners and more savvy video pros. It has more features than iMovie and is just as easy to use. To get the free version, you have to tweet/post about HitFilm, which is quite clever.
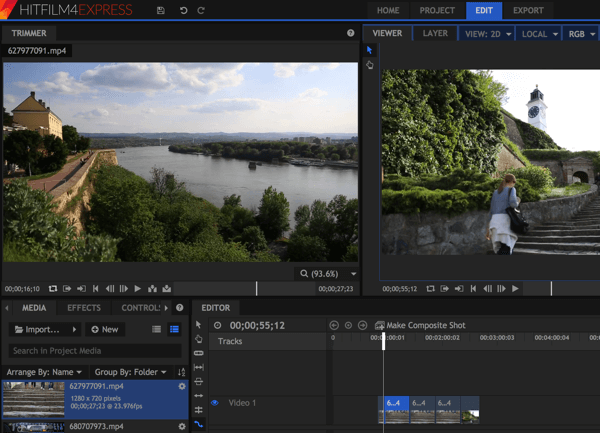
HitFilm’s free version has all of the editing features you need to get started with video.
TechSmith Camtasia
Camtasia ($199) is a simple tool that’s easy to pick up. It’s fairly versatile and can do screen recordings. You can get it for Windows and Mac.
Apple Final Cut Pro
Final Cut Pro ($299) is Apple’s upgrade from iMovie for Mac users. It’s powerful, versatile, and quick to use.
Adobe Premier Pro
Adobe Premiere Pro ($19.99/month) is available for Mac, Windows, and mobile at a reasonable price tag per month if you’re doing lots of videos. It’s the most versatile option in this list, but it may be more robust than you need if you’re just starting out.
Tip: Check out this site if you want to compare some of these software options.
#7: Choose Graphic Design Software
You’ll also need software to create thumbnail graphics for your videos and YouTube channel art. Canva has the updated sizes, guidelines, and templates you’ll need to create these graphics. It’s free to use (except for premium photos/graphics).
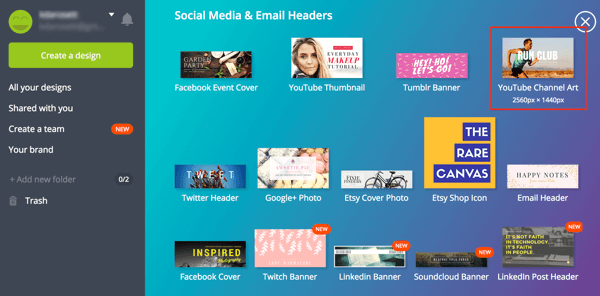
Canva offers a variety of social media templates, including one for YouTube channel art.
Click here for a tutorial on how to create the perfect on-brand image in four easy steps.
If you’re looking for free photos you don’t have to attribute, check out Unsplash, LibreStock, Gratisography, Pixabay, or Pexels.
Additional Video Tools
Here are two more helpful video tools for marketers:
TubeBuddy (free/$4-$39 month) is an all-in-one YouTube management system. The real power is being able to find (and receive suggested) tags that your video could rank for. There is a free version and a discount for the paid levels if you have fewer than 50,000 viewers, which you will if you’re just starting out.
Snagit ($49) is a fantastic tool for quickly and precisely recording your screen and editing it, adding arrows and text, etc.
Tip: TechSmith offers a Camtasia and Snagit Bundle for $224.
Conclusion
So let’s do a final price tally using the free, small budget, and bigger budget items.
Free Total Budget: $0
Camera: Smartphone
Tripod: A shelf
Lighting: Natural light from a bright window
Microphone: Smartphone
Background: Blank wall in house/office
Editing software: HitFilm
Design software: Canva and free photo sites
Tripod: A shelf
Lighting: Natural light from a bright window
Microphone: Smartphone
Background: Blank wall in house/office
Editing software: HitFilm
Design software: Canva and free photo sites
No comments:
Post a Comment